A few months back, we received an email from the production manager at Cleveland Brothers, an engine overhaul shop in Pennsylvania, requesting a demo, saying that they wanted look at our L-706 Self-Centering Bore Alignment Laser because they were having a lot of repeatability problems with a European bore alignment laser that had bought recently.
So I gave him a call and dug a little more into the problems they were having. He said they bought this bore alignment kit many months prior and were really struggling with it, especially the repeatability. He told me that the best they could get from one set of measurements to the next was .0010 to .0020 in. (0.04 to 0.05 mm). I was stunned! Knowing our competitor’s capabilities, I honestly thought their bore kit did much better than that. After all, they pride themselves on their high-precision shaft alignment technology, which is used in their bore kit, so why would their bore alignment system not perform as well as their shaft kits?
My contact further told me that they talked their US HQ about the problem, thinking maybe it was a training issue, so they asked for more training. He was told by the HQ contact that this level of repeatability was about the best he could expect with their system and if that wasn’t good enough for them, then they could return it for a refund. This was good of them to take it back, but it was also quite surprising to hear that this repeatability level was “normal” for them!
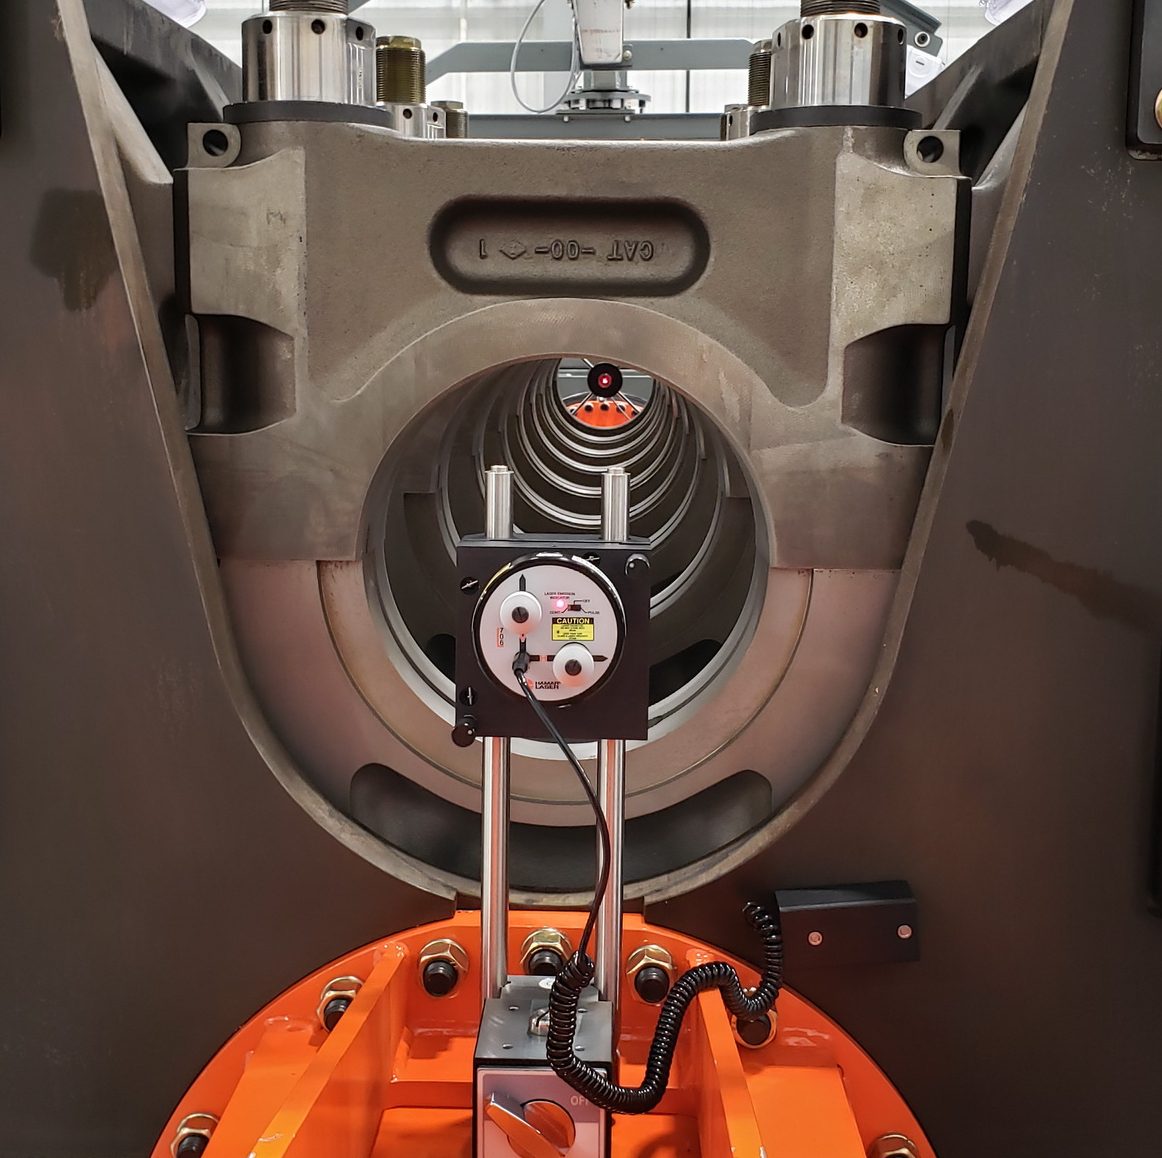
So I told the customer that I thought our L-706 Bore Alignment Laser could do a lot better than that. I said I’m pretty sure we can get in the .0003 in. repeatability range. We discussed a bit about how our L-706 self-centering technology worked and agreed on a demo date. They wanted proof…so would I if I were in their shoes…
So I went to the shop and met the plant manager and the end users. The place was immaculate and brand spanking new – very nice! They had not been up and running for very long and wanted to get their tooling and measurement equipment sorted out, so they were keen to get a good laser kit in place. It was a really nice place to do a demo.
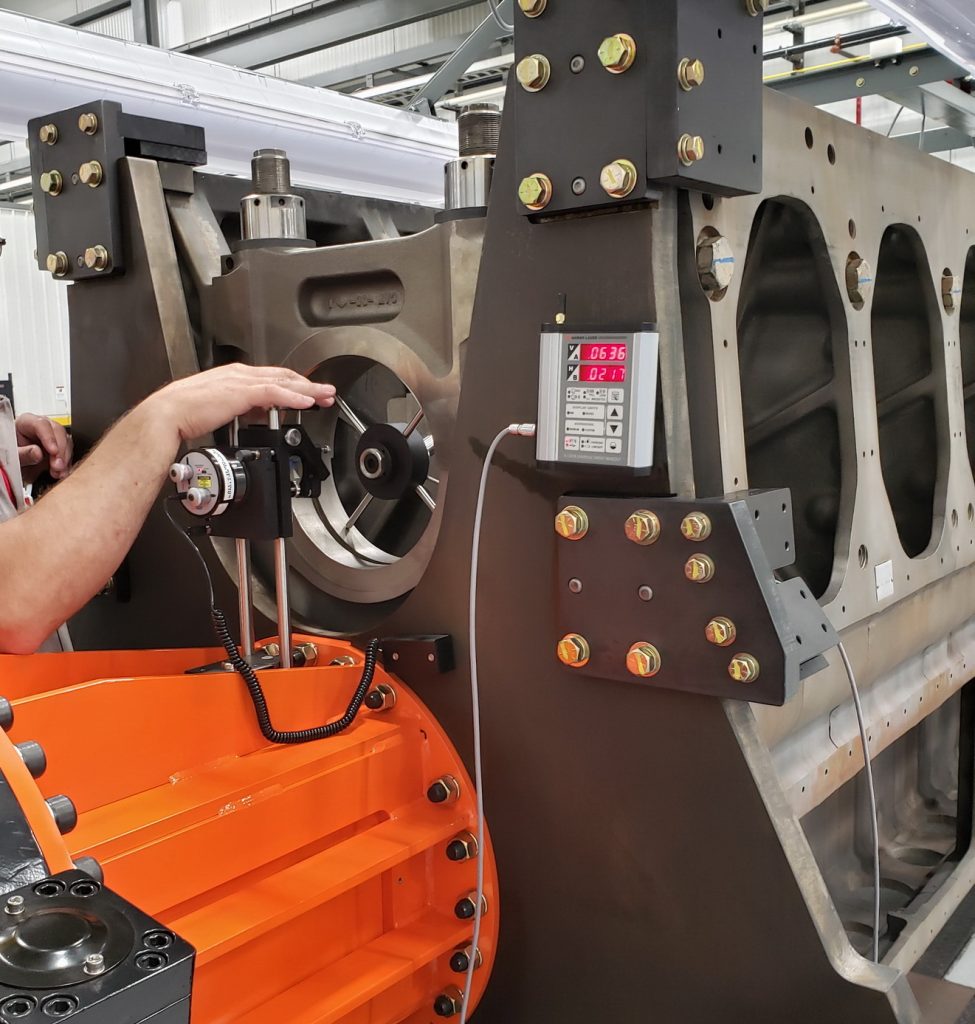
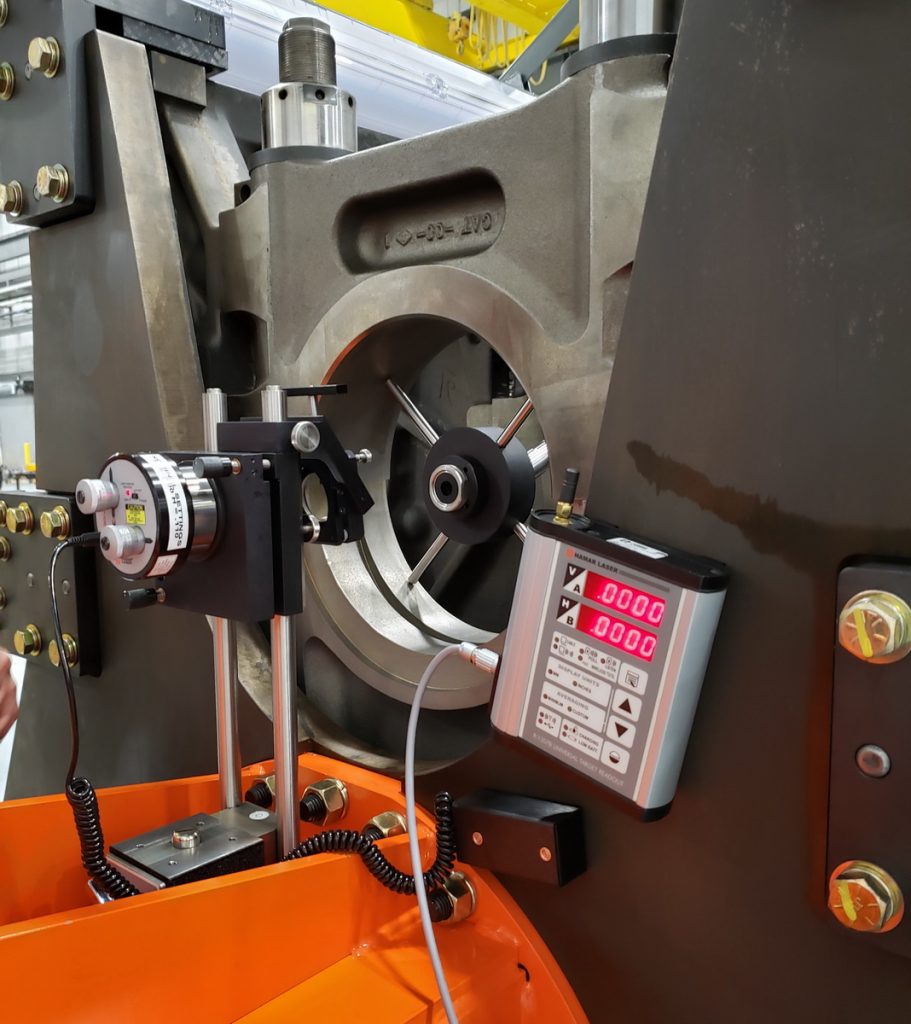
They gave me a CAT 3600 block to measure. I took our L-706 Bore Laser (our new model is L-703) , L-111 Laser Stand and L-102 Laser Beam Translator, and plunked them on the face of the block, using the 240 lb. holding-force magnet that comes with the L-111, and 15 minutes later I was all set up, ready to take data with our Bore9 software.
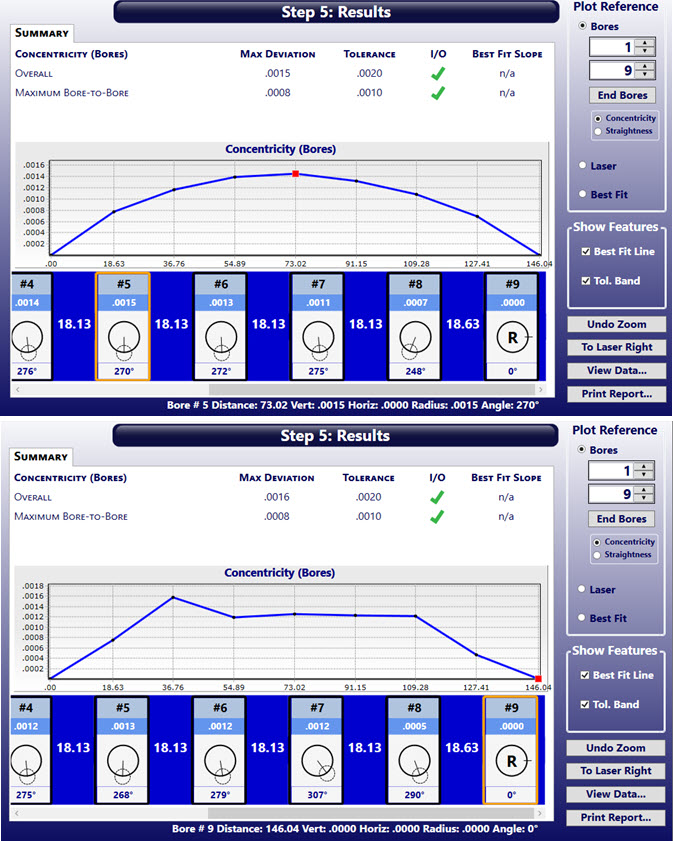
I was dressed in business casual clothes and couldn’t reach the internal bores without getting my shirt greasy (been there done that…), so I asked one of the techs to take the first set of data. It takes about 5-7 seconds to get a data point with our A-512 Self-Centering Bore Target and with 10 bores, he was done in a few minutes. Bore9 crunched the numbers and we got an overall concentricity of .0015 in. (0.04 mm) (see the results at the end of the post). Their tolerance was a fair bit higher than that, so they were very pleased with the results but even more pleased with how fast they could get them.
They told me it would take them 1-2 hours to set up the other bore system and a LOT longer to take each measurement since they have to sweep each bore to get the concentricity data for it. The L-706 self-centering targets do not require “sweeping”, which we think is unnecessary to get good concentricity data. The only benefit of sweeping the bore is you get a measure of the bore diameter, but that is just as easily done with ID micrometers most shops use these days to measure bore diameters. The hard part is the concentricity from bore to bore, and overall, end to end! Our A-514 Self-Centering Adapters use 4 fixed measuring legs, which is more than enough “sampling” of the bore ID to measure its concentricity to the end bores.
I should add that this European system’s bore-sweep technique can be quite difficult to use, especially in hard to reach places, and there can be some significant accuracy errors if the measuring plane of the sweep is not square to the centerline, which is not all that easy to do! It is what we call “expert friendly”!
Anyway, I then had the other tech take a second set of measurements to confirm the repeatability. He got .0016 in. (0.04 mm) overall concentricity, which is .0001 in. (0.0025 mm) repeatability and was nearly 20x better than what they were getting with their European bore-sweep laser! Even I was surprised at how well it repeated. Even the point-to-point repeatability was excellent with a max deviation of .0003 in. (0.0075 mm) for one bore location.
Needless to say, they were very happy with what they saw, as the production manager’s email said when I got back, saying the he was very impressed with tool and that they don’t make Fedex truck can can get the “P” tool out of his shop fast enough!
A few weeks later a PO showed up and from a new customer excited to get his kit.
After we delivered, I was happy to go back and do the training and had a good time teaching the guys “the ropes”. We did a lot of test runs and they were consistently getting .0001 to .0002 in. (0.0025 to 0.0050 mm) repeatability. They were extremely happy with their purchase and gave us a nice testimonial to back it up. Here is what they said… Enjoy! Thanks Cleveland Brothers!
